
How to Improve Drainage in Plant Pots: 2026 Guide
Waterlogged soil is the fastest way to kill a container plant, and it happens in almost every home. The fix is not complicated, but it does require you to change how you choose pots, mix soil, and water.
This guide walks you through how to improve drainage in plant pots step by step. You will learn what to use for drainage in pots, what to avoid, and how to rescue plants stuck in containers with no holes at all.
Quick answer: Start with a pot that has drainage holes, fill it with a chunky potting mix (not garden soil), and never put gravel or rocks in the bottom. Mix in perlite, pumice, or orchid bark at about 20 to 30 percent of the volume, then water until it runs out the bottom and empty the saucer.
Why Drainage Matters More Than You Think
Poor drainage is the number one cause of root rot and plant death in containers, because roots need oxygen as much as they need water. When soil stays saturated, air pockets collapse and roots slowly suffocate.
Healthy roots are white or tan and firm. Roots sitting in soggy soil turn brown, mushy, and smelly, and once rot sets in, it spreads fast. By the time leaves yellow or droop, the damage is often already deep in the pot.
What Happens When Water Can’t Escape
Water fills every gap between soil particles and pushes air out. Without oxygen, beneficial microbes die off and anaerobic bacteria take over, which is what produces that sour, rotten smell.
A pot with no holes is basically a bucket. Water has nowhere to go, so the lower half of the soil stays soaked for days or weeks while the top inch feels dry. That gap between wet roots and dry surface is what tricks so many people into overwatering.
Signs Your Pot Has a Drainage Problem
Watch for a handful of clear signals. If you spot two or more of these, your plant pot soil drainage needs work.
- Soil stays wet for more than a week after watering.
- Water pools on the surface and soaks in slowly.
- Yellowing lower leaves that feel soft rather than crisp.
- A sour or sulfur smell coming from the soil.
- White fuzzy mold on the soil surface.
- Fungus gnats that never seem to go away.
- Roots circling the bottom of the pot or growing out of the holes.
- The pot feels unusually heavy long after watering day.
Why “Just Water Less” Isn’t a Real Fix
Cutting back on water helps, but it does not solve the underlying problem. If the mix holds too much water and the pot has no holes, you are just managing the symptom.
You also risk the opposite problem. Many people water less often but pour a large volume each time, which floods the bottom of the pot and leaves it saturated for days. The real fix is to make the container drain properly so you can water freely and confidently.
What You Need to Improve Pot Drainage
You only need a few basic materials: a pot with holes, the right potting mix, and optional amendments like perlite or bark. Most of it costs very little and lasts for many planting seasons.
Pots and Containers
Look for pots with at least one hole in the bottom, and preferably three or more for anything wider than 10 in. Terracotta, unglazed ceramic, and fabric grow bags all breathe and wick moisture, which helps a lot.
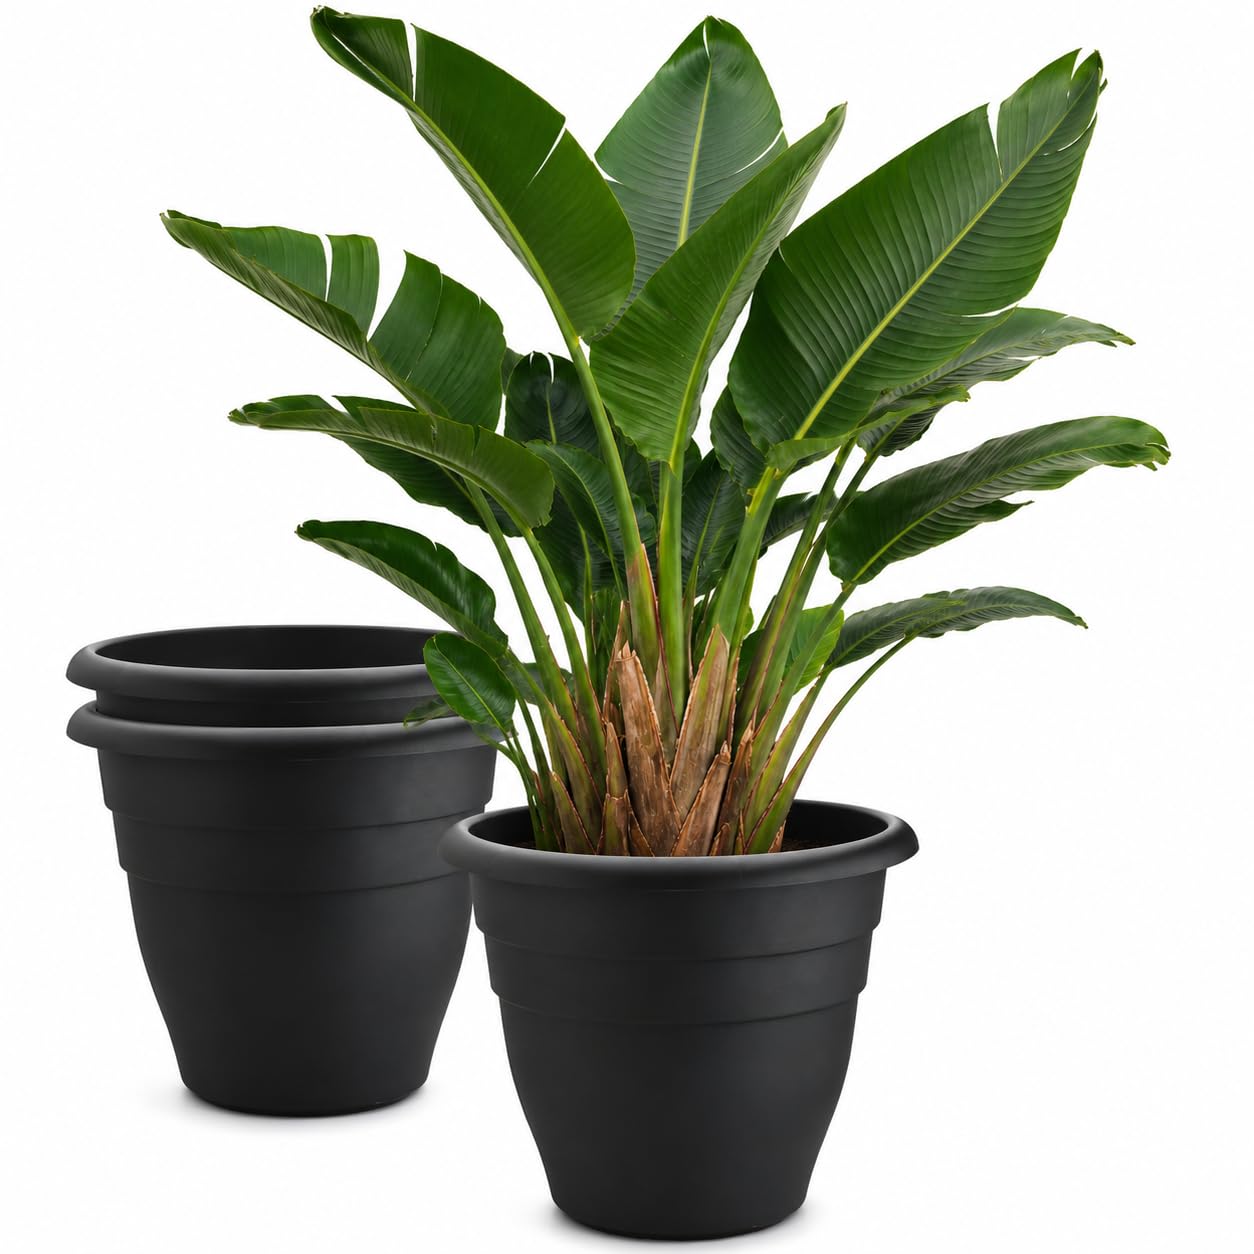
Glazed ceramic and plastic pots hold moisture longer, so they need a chunkier mix. If you are shopping for something big, the Best Large Garden Pots roundup covers sizes and materials that drain well. For smaller spaces, these Best Garden Pots for Healthy Plants are worth a look before you buy.
Potting Mixes and Amendments
Use a bagged potting mix made for containers, never garden soil or topsoil. Potting mix is built from peat, coir, bark, and perlite, so it stays light and lets air move through.
Keep these amendments on hand:
- Perlite — white volcanic glass that pops like popcorn when heated. Cheap, light, and the easiest way to open up a dense mix.
- Pumice — a heavier volcanic rock that resists breaking down and adds weight to top-heavy pots.
- Coarse sand — gritty builder’s sand, not fine play sand, which can turn soil into concrete.
- Orchid bark — chunky fir or pine bark that creates air pockets and slowly breaks down.
- Coconut coir — a renewable fiber that holds water while still letting air through.
Tools and Accessories
You do not need much. A trowel, a pair of gloves, and something to cover the drainage hole will get you through almost any repotting job.
- Mesh screen, a coffee filter, or a paper towel to cover the hole.
- A saucer or drip tray for indoor pots.
- Pot feet, bricks, or a plant stand to lift outdoor pots off the ground.
- A moisture meter if you tend to overwater.
How to Improve Drainage in Plant Pots
Start with a pot that has holes, use a chunky potting mix, and never block the drainage path with gravel or rocks. These five steps cover the whole process from empty pot to healthy plant.
Step 1: Check Your Pot for Drainage Holes
Turn the pot over and look at the bottom. If there is one small hole, that is the bare minimum, and you may want to add a second or third if the material allows.
Test how fast water moves through by filling the empty pot with water in a sink. If it drains in a few seconds, you are fine. If it trickles or pools, the hole is too small or clogged with old soil and roots.
Step 2: Choose the Right Potting Mix
Buy a mix labeled for containers or indoor plants. It should feel light and springy in the bag, not heavy and clumpy.
A good general mix is roughly 60 to 70 percent peat or coir, 20 to 30 percent perlite or pumice, and a small amount of bark or compost. For succulents, cactus, lavender, and rosemary, look for a mix labeled “fast draining” or blend your own with extra perlite.
Step 3: Add Amendments for Extra Drainage
Mix perlite, pumice, or bark into the potting soil at about 20 to 30 percent of the total volume. That is roughly two parts mix to one part amendment by scoop.
Plants that hate wet feet need the higher end of that range. Snake plants, ZZ plants, pothos, monsteras, succulents, and most herbs all do better with a chunkier blend. If you are unsure, start at 25 percent and adjust after one watering cycle.
Step 4: Pot the Plant Correctly
Cover the drainage hole with a small piece of screen or a coffee filter so soil stays in but water flows out. Add a layer of mix, then set the root ball so the top of the roots sits about 1 in below the rim.
Fill around the sides, pressing lightly to remove air pockets, but do not pack the soil down hard. Leave that 1 in gap at the top so water has room to pool briefly before it drains through. Then water thoroughly and let it run out the bottom.
Step 5: Water Properly and Let It Drain
Water until it flows freely from the drainage holes, then stop. Empty the saucer within about 30 minutes so the pot is not sitting in a puddle.
Water less often but more thoroughly. A deep soak encourages roots to grow down through the pot, while small frequent sips keep only the top inch wet and leave the lower roots dry. Check the soil with your finger or a moisture meter before watering again.
What to Use for Drainage in Pots
Use perlite, pumice, coarse bark, or coconut coir mixed into potting soil, not rocks or gravel at the bottom. Each material has a slightly different job, and the best choice depends on the plant.
| Material | Best For | Mix Ratio | Notes |
|---|---|---|---|
| Perlite | Most houseplants, seed starting | 20 to 30 percent | Light, cheap, floats to the top over time |
| Pumice | Succulents, top-heavy pots | 20 to 30 percent | Heavier, does not break down quickly |
| Orchid bark | Orchids, aroids, monsteras | 20 to 40 percent | Creates big air pockets, decomposes slowly |
| Coconut coir | Thirsty plants, seed mixes | 20 to 30 percent | Holds water but still allows airflow |
| Coarse sand | Cactus and succulent blends | 10 to 20 percent | Must be gritty builder’s sand, not play sand |
| Gravel or rocks | Nothing | Skip it | Raises the water table and worsens drainage |
Perlite and Pumice
Perlite is the workhorse of container gardening. It is expanded volcanic glass, so it is sterile, lightweight, and full of tiny closed cells that hold air instead of water.
Pumice does the same job but weighs more and lasts longer. It is a better pick for tall plants that tip over easily, and for pots that stay outside through winter.
Bark and Coir
Orchid bark is chunky fir or pine bark that creates large air gaps in the mix. It is the go-to for orchids, monsteras, philodendrons, and other plants that grow on tree branches in the wild.
Coconut coir is a fiber made from coconut husks. It holds water well but still lets air through, which makes it a good substitute for peat in seed-starting and general mixes.
What Not to Use and Why
Skip gravel, pebbles, marbles, packing peanuts, and broken pottery shards at the bottom of the pot. They do not improve drainage, and they often make things worse.
A layer of gravel creates a fine-textured layer above a coarse-textured layer. Water cannot move easily from fine soil into coarse gravel until the soil above is nearly saturated, so the water table rises and the roots sit in a wet zone. That is the opposite of what you want.
How to Improve Drainage in Pots Without Holes
You can use a plastic nursery pot as an insert, drill holes yourself, or treat the pot as a decorative cachepot. All three work well, and the first option is the easiest for most people.
Using a Nursery Pot as an Insert
Buy a plastic nursery pot that fits inside your decorative container with a small gap around the sides. Plant in the nursery pot, water it in the sink, let it drain, then drop it back into the outer pot.
This is the cleanest solution for indoor plants. You get real drainage, and the decorative pot stays dry. Just make sure the nursery pot does not sit in water at the bottom of the outer container.
Drilling or Adding Holes
Plastic, unglazed ceramic, and some resin pots are easy to drill. Use a masonry bit for ceramic and a standard bit for plastic, go slowly, and keep the bit cool with a spray of water.
Safety note: wear eye protection and clamp the pot down before drilling. Ceramic can crack or shatter, so start with a small pilot hole and work up to the size you need. Add three or four holes rather than one big one.
Using a Cachepot Correctly
A cachepot is a decorative outer pot with no holes. It is designed to hold a planted nursery pot, not to hold soil directly.
If you want to plant directly in a holeless pot anyway, water very carefully. Pour only as much as the soil can absorb, tip the pot to drain any excess, and never let water pool at the bottom. For most plants this is a losing battle, so use the insert method instead.
How to Improve Drainage in Outdoor Planters
Outdoor planters need larger holes, a raised base, and a mix that drains fast because they get rained on. A pot that works fine indoors can drown after one summer storm.
Choosing the Right Planter
Pick a planter with multiple drainage holes, each at least 1/2 in across. Bigger planters need bigger holes, and you can never have too many.
Terracotta, wood, and fabric planters breathe well. Glazed ceramic and metal do not, so they need extra perlite in the mix and a very reliable drainage path. If you are planning a bigger container display, these Small Garden Ideas show how to fit several planters into a tight space.
Raising the Pot Off the Ground
Set pots on pot feet, bricks, or a slatted stand so the bottom is at least 1 in off the ground. This lets air reach the drainage holes and stops water from wicking back up into the soil.
It also protects wood decks and concrete patios from water stains. For heavy pots, use three pot feet instead of four so the pot never rocks.
Dealing With Heavy Rain
During rainy weeks, check saucers and trays daily and empty them. If a pot has no saucer, make sure it is not sitting in a low spot where water collects.
You can also tilt large planters slightly by sliding a small stone under one side. That encourages runoff and keeps the bottom of the root ball from staying soaked after a storm.
Common Mistakes That Worsen Pot Drainage
The biggest mistakes are adding gravel to the bottom, using garden soil in pots, and leaving pots sitting in standing water. Each one is easy to fix once you know why it causes trouble.
The Gravel Myth
The idea that rocks at the bottom improve drainage has been repeated for decades, and it is simply wrong. Research on container drainage shows that a coarse layer under fine soil actually slows water movement and raises the saturated zone.
The myth persists because people see water dripping out of the pot and assume the gravel helped. In reality, the water was going to drain anyway once the soil above the gravel was nearly full. Skip the rocks and use the full depth of the pot for soil instead.
Using the Wrong Soil
Garden soil is dense, full of clay and silt, and compacts hard in a pot. It holds water far too long and leaves almost no room for air.
Always use a potting mix designed for containers. If you want to stretch a bag of mix, blend in perlite or bark rather than digging soil from the yard.
Skipping the Saucer Check
A saucer catches runoff, which is good, but it also holds water against the bottom of the pot. If you never empty it, the soil wicks that water right back up.
Check saucers about 30 minutes after watering and pour out anything left. For outdoor pots, check after every rain. This one habit prevents a surprising number of root rot cases.
Troubleshooting Drainage Problems
If water still pools or soil stays wet, the issue is usually the mix, the pot, or your watering routine, and each has a fix. Work through them in that order.
Water Drains Too Slowly
Slow drainage usually means the mix is too dense or the holes are clogged. Repot with a chunkier blend that includes 25 to 30 percent perlite or bark.
Check the holes for compacted soil, roots, or a stuck coffee filter. If the pot has only one small hole, add more. You can also switch to a terracotta or fabric pot, which lets moisture escape through the sides.
Water Drains Too Fast
Fast drainage is not always a problem, but it can be for ferns, calatheas, and other plants that like consistent moisture. If water runs straight through, the mix may be mostly bark or perlite.
Blend in more coconut coir or peat to hold a bit more water. You can also water more often, or set the pot in a tray of shallow water for 15 minutes so the soil soaks up moisture from below.
Soil Stays Wet After Watering
If the soil is still wet a week later, the pot is likely too big for the plant, the mix is too heavy, or the pot has no working drainage. Check all three.
Root rot is the main risk here, so act quickly. Slide the plant out, trim any brown mushy roots with clean scissors, and repot into fresh mix in a smaller pot with good holes. For serious cases, consult a local nursery or horticultural extension service for plant-specific advice.
FAQ
These questions cover potting techniques with and without drainage holes, including setup, watering, and managing saucers.
How Do You Pot a Plant With Drainage?
Cover the hole with screen or a coffee filter, add potting mix, and set the root ball so the crown sits level with the soil line. Fill around it, press gently to remove air pockets, and water until it drains from the bottom.
Leave about 1 in of space below the rim so water has room to pool briefly. Then empty the saucer within 30 minutes.
How Do You Pot Indoor Plants Without Drainage?
Use a plastic nursery pot as an insert inside the decorative container. Plant and water in the nursery pot, let it drain in the sink, then set it back inside.
This gives you real drainage without risking your furniture. If the outer pot is deep, add a small spacer at the bottom so the nursery pot does not sit in water.
What Is the Best Material for Drainage in Plant Pots?
Perlite is the best all-around choice because it is cheap, lightweight, and easy to find. Mix it into potting soil at 20 to 30 percent of the volume.
Pumice lasts longer and adds weight, which helps top-heavy plants. Orchid bark is the better pick for orchids, monsteras, and other epiphytes that need big air pockets around their roots.
Do Pots Need Rocks at the Bottom for Drainage?
No. Rocks at the bottom raise the water table and keep the soil above them wetter, not drier.
Skip the gravel and use a pot with holes plus a chunky mix instead. If you want to stop soil from washing out, cover the hole with a piece of screen, not a layer of stones.
How Do You Improve Drainage in a Large Plant Pot?
Large pots need more holes, a coarser mix, and a raised base. Add perlite or bark at 25 to 30 percent of the volume, and set the pot on pot feet or bricks.
Big containers hold a lot of water, so a single small hole is not enough. Aim for at least three holes, each at least 1/2 in wide, and check them for clogs a couple of times a year.
Can You Use a Pot With No Drainage Hole at All?
Yes, but only as a cachepot with a nursery pot inside, or for plants that tolerate wet roots like lucky bamboo. For most houseplants, a pot without holes is a slow path to root rot.
If you love the look of a holeless pot, treat it as a cover and keep the real growing pot hidden inside. That way you get the style without the risk.
The Bottom Line on Pot Drainage
Get a pot with holes, use a chunky potting mix, and skip the gravel, and your plants will reward you with healthy roots and steady growth. Those three changes fix most drainage problems on their own.
Start with the pot you already have. Check the holes, blend in some perlite, and empty the saucer after every watering. Small habits like these keep roots breathing and plants thriving for years.


2 Comments